
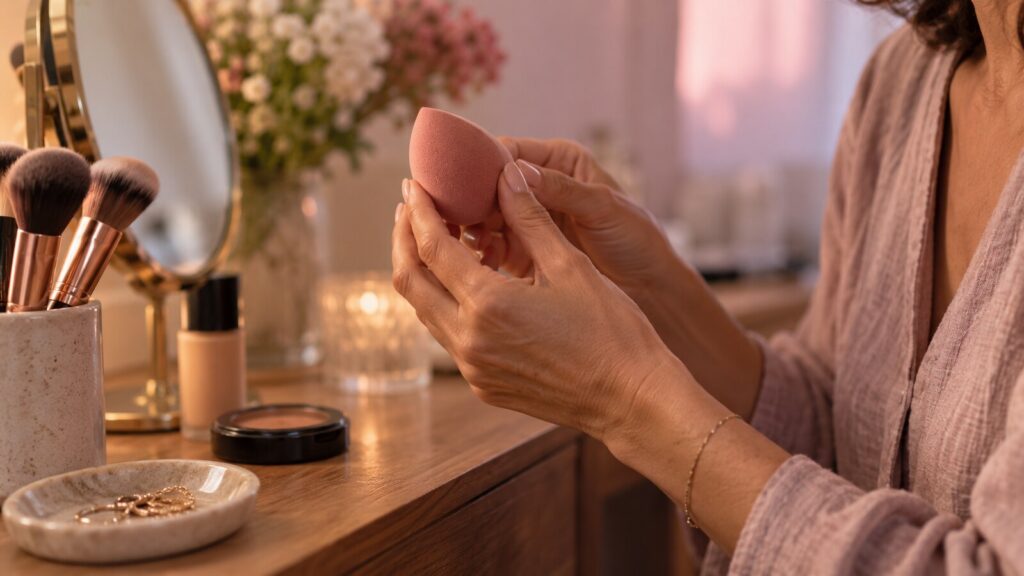
You can apply a little makeup over a hydrocolloid patch, provided you place it on clean, dry, bare skin and make sure it is firmly attached. Dab the makeup on gently without shifting the patch, and stop if an edge starts to lift. Microneedle patches are designed for under-the-skin pimples, so avoid covering them with a thick layer of foundation.
It can be tempting to keep adding concealer until the patch disappears in the mirror. Light coverage works better. The raised surface may still show, and extra layers will not smooth out the texture.
Choose the format that matches the pimple
Hydrocolloid patches are made for whiteheads that have come to the surface. They absorb fluid from this type of pimple, but they are not designed to treat a blemish beneath the skin. Take a moment to identify the pimple before you start your makeup.
Hydrocolloid Patches contain salicylic acid and tea tree oil, listed as Melaleuca alternifolia leaf oil. The box contains 36 patches. The brand describes them as hypoallergenic and recommends testing one on a small area before use. Do this before the day you plan to wear a patch under makeup.
For under-the-skin pimples, Microneedle Patches contain 200 microneedles along with salicylic acid, niacinamide and Centella asiatica. Each box contains 9 patches. They are intended for targeted use and do not replace a treatment for the entire face.
Not sure which format you need? Read this guide to choosing a patch based on the blemish. No amount of concealer will change which type of pimple the patch is designed to treat.
Apply the patch before skincare and makeup in that area
Clean the area and dry it thoroughly. Apply the patch directly to bare skin, with no cream or serum underneath. Keep oil and foundation away from the skin around it as well.
Centre the patch over the pimple. With a hydrocolloid patch, the whitehead gives you an easy reference point. Once it is in place, check that the edges are flat and secure before applying makeup nearby.
If you have already applied foundation, cleanse the area where you want to place the patch and dry it again. Never apply the patch over existing makeup. Once it is secure, you can continue with your base.

For whiteheads on the surface
- Draws out impurities from the pimple
- Works in 6 to 8 hours
- Leaves no marks
Carry on with the rest of your routine as usual, keeping skincare products away from the patch edges so they cannot seep underneath. If an edge is already folded or lifting, more product will not fix it.
Make up the rest of your face before working near the patch
Start with the areas furthest from the pimple. This limits the number of times your sponge or brush passes over the patch. As you get closer, use less product on your tool.
If the hydrocolloid patch is still firmly attached, dab a small amount of makeup over it. Short, light touches are gentler than dragging your tool from side to side. You want to add product without pulling the patch out of place.
When you reach the edges, begin with the product already left on your tool. Check the result before adding more foundation or concealer. If your complexion looks even enough, there is no need to build more coverage.
If the edge remains visible but the patch is secure, leave it alone. Trying to hide every trace of texture can lead to repeated work over the same spot. After a few light dabs, move on.
Check the edges while applying makeup
Pause after the first few dabs and see whether the patch has shifted, creased or started to lift. It is better to check now than to wait until your makeup is finished.
If the edges are still flat, continue with a light touch. Once an edge lifts, stop applying makeup there. Do not use concealer to hold it down. More product will only keep you working over a patch that is already moving.
With the microneedle format, focus on the rest of your face. Use a light hand around the patch and avoid repeated touch-ups in the same spot. Do not cover it with a thick layer of foundation.
If the patch lifts, apply a new one to clean skin
If your sponge lifts the patch, remove it gently instead of working around the loose edge. Do not try to secure it with another product, and do not reuse it once it has been removed.
Before applying a new patch, cleanse the makeup from the area. Dry your skin thoroughly, then place a fresh patch on bare skin. Check that it is secure before continuing with your base.
Start again with a small amount of product. You do not need to restore full coverage around the area straight away. Apply the patch before makeup, never over products left from the previous application.
Keep track of when you apply the patch
Both formats are designed to remain on the skin for 6 to 8 hours. A hydrocolloid patch can also be worn overnight and removed when you wake up. Makeup does not change these time frames, so note when you put it on.
In the evening, remove the patch before cleansing your face. Peel it off gently without pulling sharply, then cleanse your skin. This helps you avoid rubbing makeup while the area is still covered.
Next time, check the edges before adding more product. If they are secure, a few dabs may be enough. If they begin to lift, put down your sponge and stop applying makeup to that area.
For the rest of your routine, see lactic or salicylic acid for your skin’s texture and how to use toner pads without rubbing a pimple.

Targets subcutaneous pimples
- Actives delivered to the heart of the pimple
- Works in 6 to 8 hours
- Comfortable to wear
 -24%BEST DEAL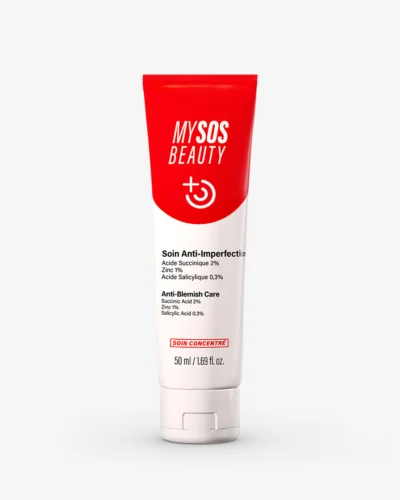
Helps reduce the appearance of imperfections
- Soothes redness
- Prevents the appearance of new pimples
- 95.9% natural formula


Comments (0)