

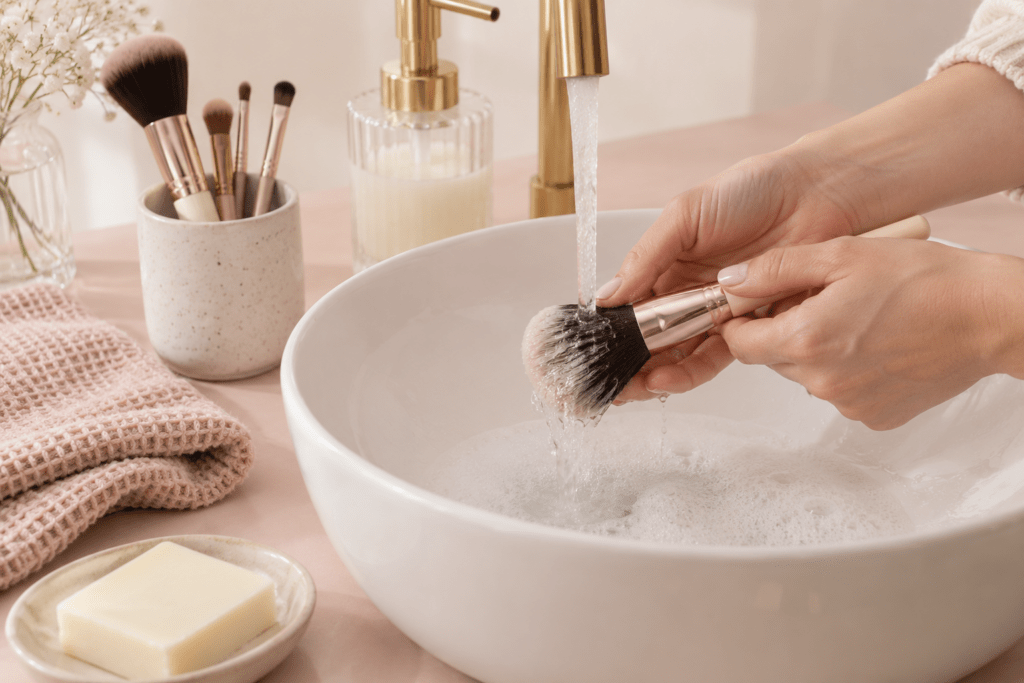
Does your foundation brush still have traces of makeup on it after use? Does your powder brush look loaded with product before you even start applying makeup? Regular washing removes that build-up. The method comes down to three essentials: gently clean the bristles, rinse thoroughly and leave the brushes to dry flat.
Here’s how to care for your standard makeup brushes using simple supplies and gentle techniques. Washing your brushes is a separate task from removing makeup and cleansing your face.
Why wash your brushes regularly?
The bristles collect makeup, sebum and dirt. The American Academy of Dermatology (AAD) notes that dirty brushes can also harbour bacteria and contribute to spots, rashes or infections. How a brush looks is therefore not enough to tell you whether it is clean.
The AAD recommends washing brushes every 7 to 10 days. In its advice for people with acne, it recommends weekly washing. Setting aside time each week is a practical way to stay on track, especially if your skin is prone to blemishes.
Brushes used for foundation or concealer can build up residue more quickly than those used for powders. Keep an eye on their condition, but don’t assume a powder brush can go without washing: the AAD’s general recommendation does not set different washing schedules for different makeup textures.
Keeping your tools clean does not guarantee that acne will clear up. Your choice of cosmetics matters too, as we explain in our article on makeup and acne.
Gather your supplies
You’ll need a bowl, a gentle or clarifying shampoo, clean, dry paper towels and a clean towel. Clear a stable surface where your brushes can dry. For hygiene, wash your hands before handling your tools.
Locate the ferrule: the usually metal section that connects the bristles to the handle. According to the AAD, submerging the whole brush head can eventually weaken the glue holding it together. Keep this section out of the water while washing.
Also check any care instructions provided by your brush manufacturer. This method is not automatically suitable for sponges or electrical tools.
Clean your brushes in four steps
1. Rinse the tips with lukewarm water
Hold only the tips under a gentle stream of lukewarm water to remove the initial residue. This first rinse prepares the bristles for washing; it is not enough on its own if makeup remains in them.
2. Gently wash the bristles with shampoo
The AAD’s method is to fill a bowl with lukewarm water and add a tablespoon of gentle or clarifying shampoo. Swirl the tips in the mixture. You can also gently massage them in your palm to work up a lather.
Avoid squashing the brush head or pulling on the bristles. If traces of foundation remain, repeat the washing and rinsing rather than scrubbing harder.
3. Rinse until the water runs clear
Rinse the tips under running water. Repeat the shampooing and rinsing until the water runs clear. If there is still lather in the bristles, keep rinsing before moving on to drying.
4. Remove excess moisture
Gently squeeze the bristles with a clean, dry paper towel, as the AAD recommends. To help preserve their shape, avoid twisting them and gently reshape the brush head before laying it down. These last steps are practical brush-care precautions.
Let your brushes dry flat
Lay the brushes horizontally on a towel, with the tips hanging over the edge of the work surface. This arrangement, recommended by the AAD, keeps the bristles from resting against a surface. Choose a spot where the brushes are unlikely to be knocked off.
Don’t leave them to dry upright in a pot with the bristles pointing upwards: water can run down into the brush assembly and loosen the glue. You can use the pot for storage once the brushes are completely dry.
To fit washing into your routine, do it after the last time you plan to use your brushes that day. Before putting them away, check that the bristles are dry, including the densest areas. Keep their storage space clean too.
Clean tools and clean skin: two complementary habits
The AAD recommends never sharing makeup brushes: bacteria, dead skin cells and sebum from another person can collect on them. Sharing also exposes you to infections such as conjunctivitis or cold sores.
Clean tools support a suitable facial skincare routine, but they do not replace removing your makeup in the evening. After taking off your makeup, gently cleanse your skin. Our guide to skin cleansing mistakes offers further guidance.
For combination to oily skin prone to blemishes, the manufacturer describes Mochi Facial Cleanser as a hybrid cleanser and mask. To use it as a cleanser after removing makeup, apply a small amount to dry skin and massage your face, avoiding the eyes and mouth. Rinse with lukewarm water, then pat dry with a clean towel. The product information also includes use as a mask once a week for 3 to 5 minutes. It is intended for your face, not your brushes.
FAQ
How long do makeup brushes take to dry?
There is no single drying time: it depends on factors such as the density of the bristles and the drying conditions. Wait until your brushes are completely dry before using them again or putting them in a makeup bag.
Can you use soap instead of shampoo?
The AAD says that a simple mixture of soap and water can dry out the bristles. To follow its method, choose a gentle or clarifying shampoo, taking your brushes’ own care instructions into account.
What if spots persist even though your brushes are clean?
Don’t wash your skin more often to compensate. Several factors may be involved; if spots or irritation persist, ask a dermatologist for advice.
Sources
- American Academy of Dermatology — How to clean your makeup brushes: washing and drying method.
- American Academy of Dermatology — Can wearing makeup cause acne?: weekly brush cleaning and the risks of sharing tools.


 -44%LIMITED OFFER


Comments (0)