

When blemishes appear on your back, start by reducing friction from a bag, bra or sports bra. Change your T-shirt once it becomes damp. A patch can help with a specific blemish, provided you can reach the area and choose a formula that suits its appearance.
Your back is hard to see and reach, and clothing can stay against the skin for hours. Before choosing a product, look at where the blemish is and what may be irritating it. Treating a few specific areas is usually easier than trying to cover a large part of your back.
Find the source of the friction
A bag worn regularly can press on the same spot. A bra or sports-bra strap may rub against the shoulders, upper back or the area around the chest. Check where the blemishes are and notice what repeatedly touches the skin before applying anything.
It can also help to notice when the blemishes appear or become more bothersome. If they follow a strap, seam or another part of your clothing, avoid that contact whenever possible. When your T-shirt is damp, change it rather than leaving wet fabric against your back.
If you need to, ask someone you trust to check the area. This can help you tell the difference between a whitehead that has reached the surface and a deeper blemish beneath the skin. That distinction guides your choice of patch and the way you apply it.
Clean and dry the skin first
Apply a patch to clean, dry skin. Clean only the area concerned, then dry it thoroughly. Moisture can weaken the adhesive and make the patch shift beneath your clothing.
Keep the process gentle. Do not rub the blemish to bring a whitehead to the surface, and do not spread a product intended for one area across your entire back. For another gentle option, read how to use toner pads without rubbing the blemish.
If the instructions recommend testing a small area first, do that before applying the product to your back. It gives you a chance to see how your skin responds to a formula you have not used before.
Choose the patch for the type of blemish
For a surface whitehead
A formed whitehead has visible contents at the surface. In this case, Hydrocolloid Patches contain salicylic acid and tea tree oil, also known as Melaleuca alternifolia leaf oil. The box contains 36 patches.
Apply the patch to clean, dry skin. Leave it on for 6 to 8 hours or overnight, then remove it in the morning. It absorbs impurities from an already formed whitehead, but it is not intended for a blemish beneath the skin.
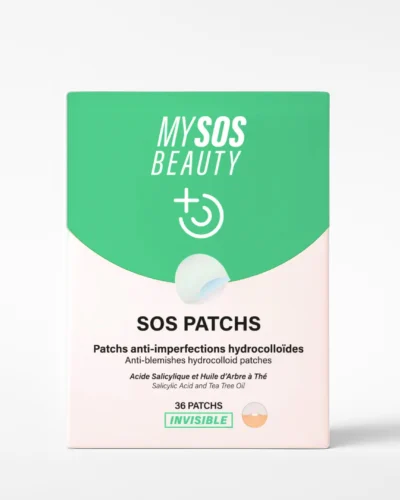
For whiteheads on the surface
- Draws out impurities from the pimple
- Works in 6 to 8 hours
- Leaves no marks
On your back, take a moment to reach the area properly and place the patch over the centre of the blemish. If it is in the middle of your back, ask someone to help instead of applying it by guesswork. You will get a more accurate position, and the patch is less likely to lift beneath your clothing. For more on the difference between a whitehead and a closed lesion, read how to choose a patch for a whitehead or a blackhead.
For a blemish beneath the skin
A subcutaneous blemish has no accessible whitehead, so a hydrocolloid patch is not intended for it. Microneedle Patches are intended for blemishes beneath the skin. They contain salicylic acid, niacinamide and Centella asiatica. The box contains 200 microneedles and 9 patches.
Leave them on for 6 to 8 hours. Choose areas you can reach without difficulty. Nine patches will not cover an entire back, so focus on the blemishes that bother you most and locate them carefully before you start.
Microneedle patches are made for targeted use. They are not a dermaroller and do not replace a product intended for the entire face. If you are unsure which active ingredient to choose, read lactic acid or salicylic acid for your skin.
Make the application easier
Have the patch ready before turning towards a mirror. Two mirrors can help, or you can ask someone to assist. Before applying it, check once more that the skin is clean, dry and free from moisture.
Place the patch over the centre of the blemish and press gently so it makes good contact. Avoid the exact spot where a bra strap, seam or bag applies pressure. A patch beneath a friction point is more likely to move.
If it comes loose, check whether the skin was fully dry and whether your clothing is catching the edge. Adjust those points next time. Do not rub the area to make the patch stick, and do not switch to another treatment without checking that it is suitable.
Follow the recommended wear time for the product you choose. For the patches covered here, that means 6 to 8 hours or overnight. If you apply one at night, remove it in the morning. Leaving it on longer at random will not give you a useful reference point.
Mistakes to avoid on a hard-to-reach area
- Using a hydrocolloid patch on a blemish beneath the skin when it is intended for a surface whitehead.
- Trying to cover a large part of your back with a small number of patches designed for targeted use.
- Applying a patch to damp skin or straight after intense clothing friction.
- Placing it beneath a bra, sports-bra or bag strap and allowing it to shift.
- Rubbing the blemish to bring a whitehead to the surface before applying the patch.
- Applying a patch without checking its position when you cannot clearly see the middle of your back.
The right choice depends on how the blemish looks and how easy the area is to reach. When you can access it comfortably, you can position the patch more precisely, keep better contact with the skin and remove it more easily.
Practical FAQ
Can I apply a patch to the middle of my back?
Yes, as long as you can reach the area and centre the patch correctly. Otherwise, ask someone to help and use a mirror to check the position. This avoids an off-centre application and makes it less likely that the patch will lift beneath your clothing.
What should I do if my sports bra rubs against the blemish?
Find the strap or seam pressing on the area. Change your T-shirt if it is damp, and avoid placing the patch directly beneath the pressure point. It needs to stay in contact with clean, dry skin.
How many patches should I use on my back?
Use one patch per targeted blemish, according to its appearance and accessibility. A box of 9 patches will not cover an entire back. Choose the spots that need targeted action and apply each patch carefully.
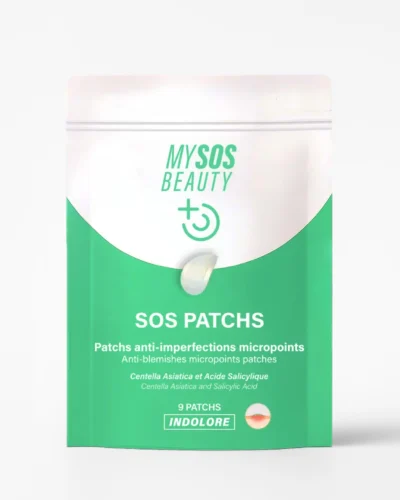
Targets subcutaneous pimples
- Actives delivered to the heart of the pimple
- Works in 6 to 8 hours
- Comfortable to wear
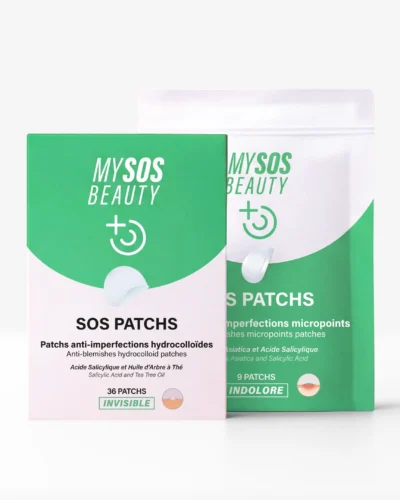 -24%BEST DEAL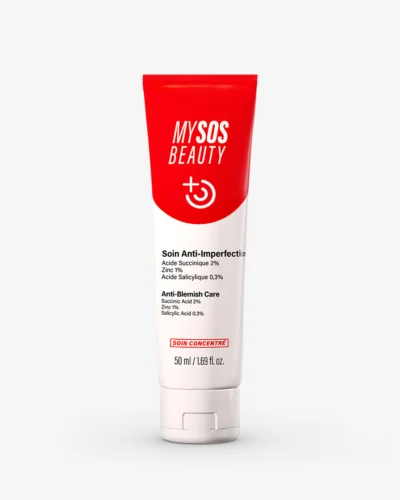
Helps reduce the appearance of imperfections
- Soothes redness
- Prevents the appearance of new pimples
- 95.9% natural formula



Comments (0)